

Hello, regular readers and guests of my blog. I am Okhunjon with you again. Today we will see how to install Denver on our computer and install the popular Joomla cms on it.
More precisely, Asadbek Asgaraliyev, one of the regular readers of my site, master of site creation in joomla, will explain this topic to you.
If you follow what Asadbek wrote here, you will definitely have Denver and Joomla installed on your computer at the end of the article, and the site will be ready for development. Good luck, if you have any questions, feel free to leave them in the comments. Asadbek and I will definitely answer. Thank you Asadbek.
Asadbek: Thank you brother.
Hello everyone! I am Askaraiyev Asadbek. I am very good at creating a site in Joomla. I decided to write these lessons after hearing that you can make money by writing articles for this site! Without further ado, let’s start the lessons!
What is Joomla itself?
Joomla is the DIVIJOK for creating this site! With the help of DIVIJOK, we will be able to create a site as we wish without any programming languages! Why Joomla?
- Does not require any programming languages!
- Absolutely free
- Plugins and templates are being released online for free every day!
- One of the most famous DIVIJOK!
- Learning how to create a site with this is like learning checkers!

First of all, we will develop our site offline on a computer! For this we need some programs!
1. Denver >> DOWNLOAD
2. joomla_2.5.9 >> DOWNLOAD
I’ve included the download section so you don’t have to worry about it!
I have started classes!
I will tell you one thing, I write video courses, but I have not written a book. Leave a comment if you don’t understand! You’ll learn things you didn’t even know by leaving a comment, and you can earn money by winning comment contests organized on this site!
We will not stay away from the lesson!
Let’s start installing Denver on our computer!
How to install Denver on PC?
Let’s launch Denver!
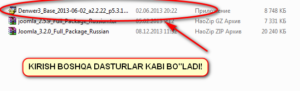
The Denver base I’m showing in the picture may be different from yours, but if you want one, look for one similar to mine on Google! Yes, Google will answer most of your questions.

<<<< Close your browser to continue!
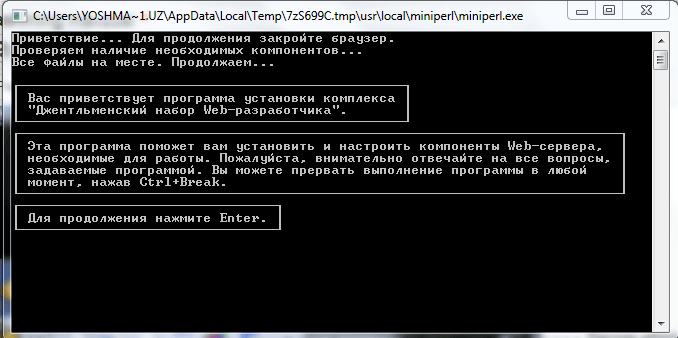
<< Press ENTER
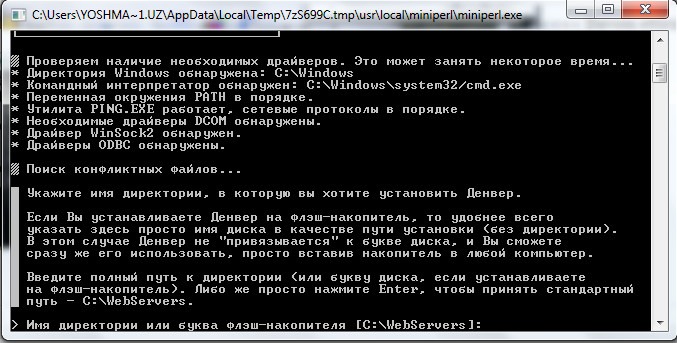
To install Denver, you need to point to a drive on your computer and a folder inside the drive! My advice to you is to install the system on a non-installable disk! Because the site we created is also stored on that disk! (Until release on the Internet!)!
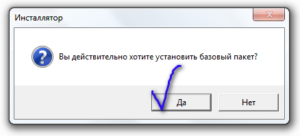
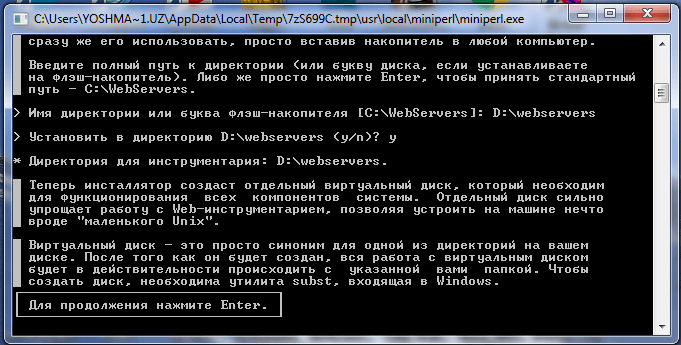
I want to put it in a folder called “Webservers” on the “D” drive for me! To do this, I type “D:\Webservers” (without the quotes!) and press enter. Then it asks us for permission to hide the folder called D:\webservers! We find the letter “y” on the keyboard and press the enter key!
Then it will tell you about creating a virtual disk! You press enter!
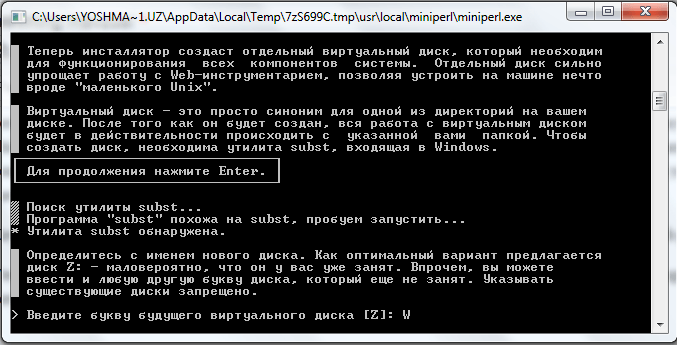
Vertual asks you to enter a drive letter! How can I explain it to you? For example, we create a virtual disk similar to the “D” disk where our computer files are stored! I type “W” as the drive.
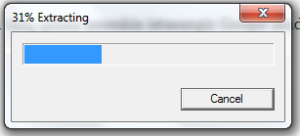
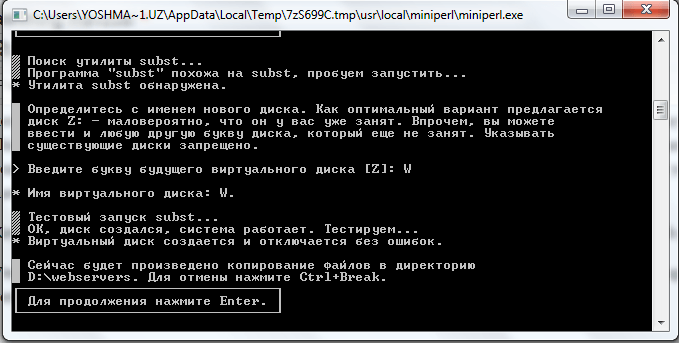
Now vertual asks us for permission to install denwer on disk! We press ENTER. Files will start copying! We just have to wait!
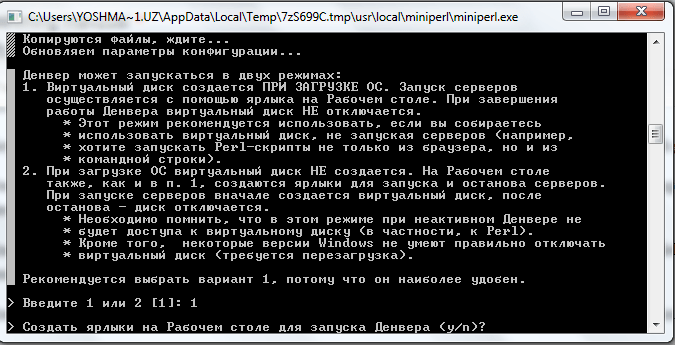
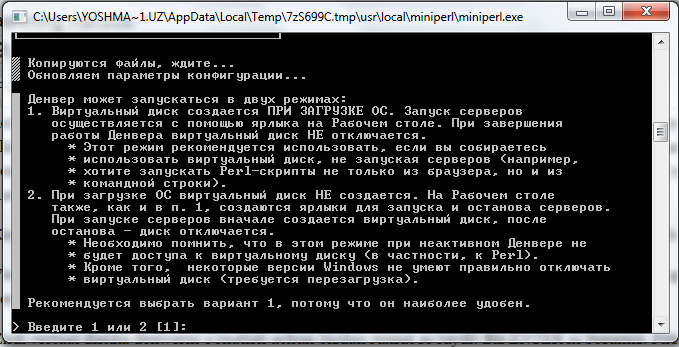
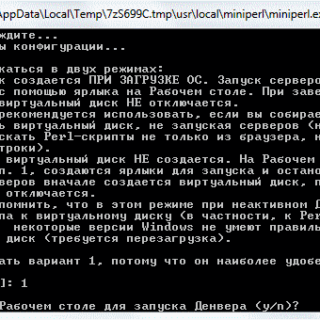
Now we are being asked to specify whether the “W” drive should boot or not when the computer starts up…
We type 1 to run and press enter!
The desktop is asking for permission to create shortcuts… We find the letter “y” on the keyboard and press it!
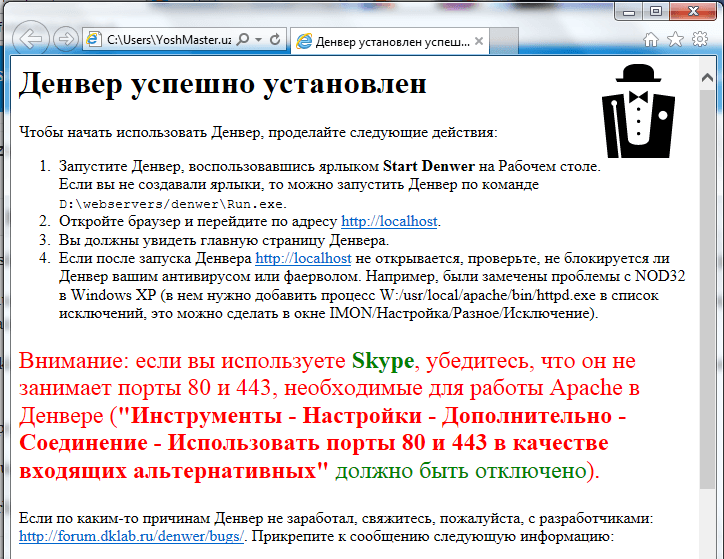
Bravezer starts automatically!
I’ve posted pictures of the above below:

Here we set Denver! The following tabs should appear on your desktop!
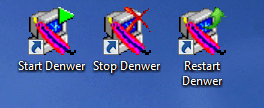
- Start Denver (Run) – Starts Denver.
- Stop Denver- Stops Denver from running.
- Restart Denver- Turns off and on a burning Denver
We installed Denver without any trouble!
Now let’s install Joomla cms to Denver, that is, local to the host!
How to install joomla in denver?
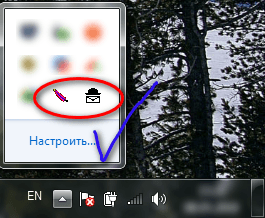
Click Start Denver, look at the panel at the bottom of the screen and the icons shown in this picture will appear:
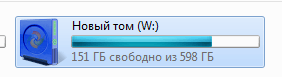
Now we go to the disk that we created and installed denwer! I had created a W disk!
We enter the W disk:
Here we see the following folders:
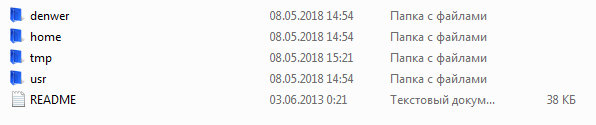
We enter the folder called Home:
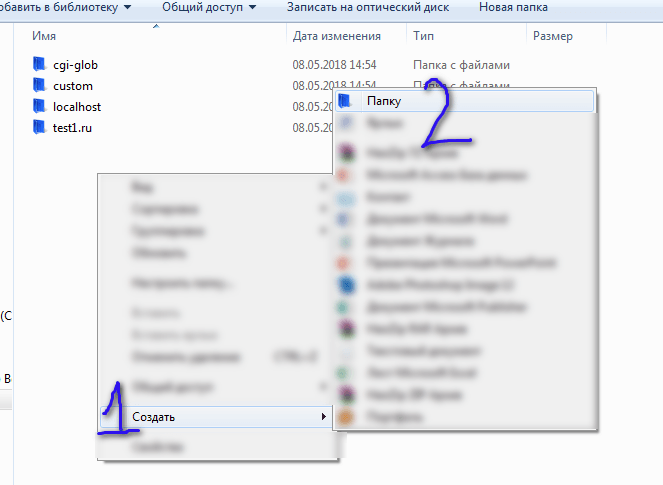
we create a folder, you write the name of the site you want to create the folder name. For example: Sayt1.uz! I also named the site 1.uz.
now we enter the folder called site1.uz!

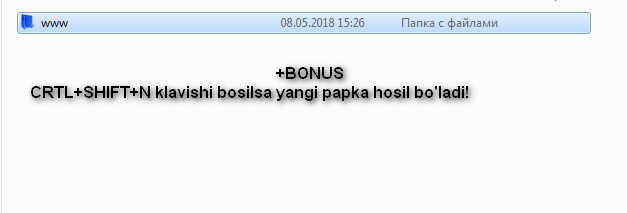
in it we will create a folder called “www”!
+BONUS (Site for guests!)
Pressing CRTL+SHIFT+N will create a new folder! We are very happy if you learned it here!
Like this:
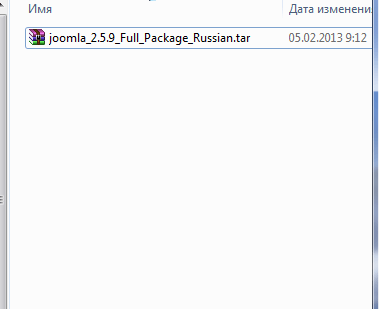
Now go to the www folder and drop the Joomla(DOWNLOAD) you got from the internet there
Just copy it to the www folder where we downloaded it.
Now open Joomla from the archive! For this, you must have an archiver! Arxivator(x86 >>DOWNLOAD; x64>>DOWNLOAD)
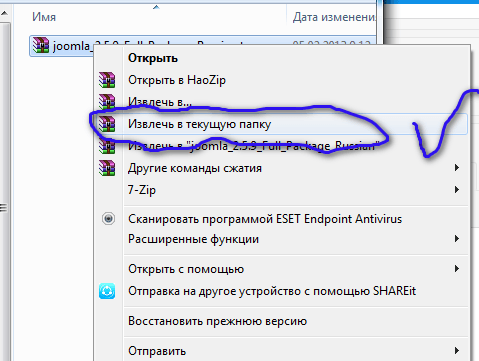
Then we’ll delete the archived file after we’re done opening it! We don’t need it anymore! Don’t take up space from the memory! Then it eats up internet traffic while streaming!
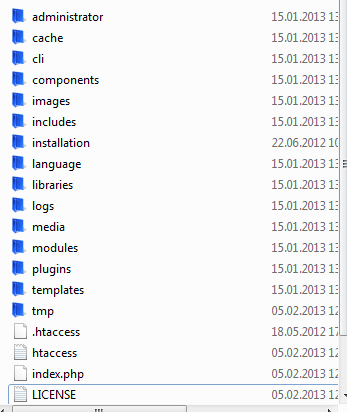
We opened the archive:
Now let’s launch a browser that we like and it’s easy to work with! For me, Google Chrome(It probably doesn’t need a bootloader anymore…) is fine.
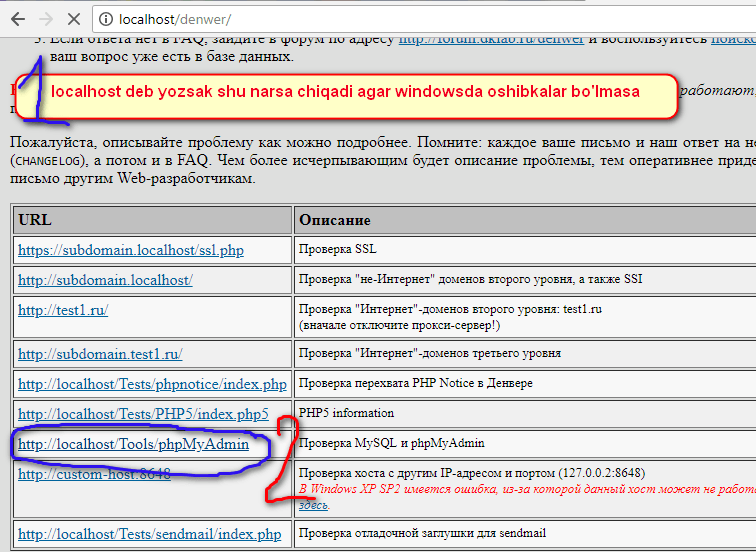
We write “localhost” in the browser (without quotes!)
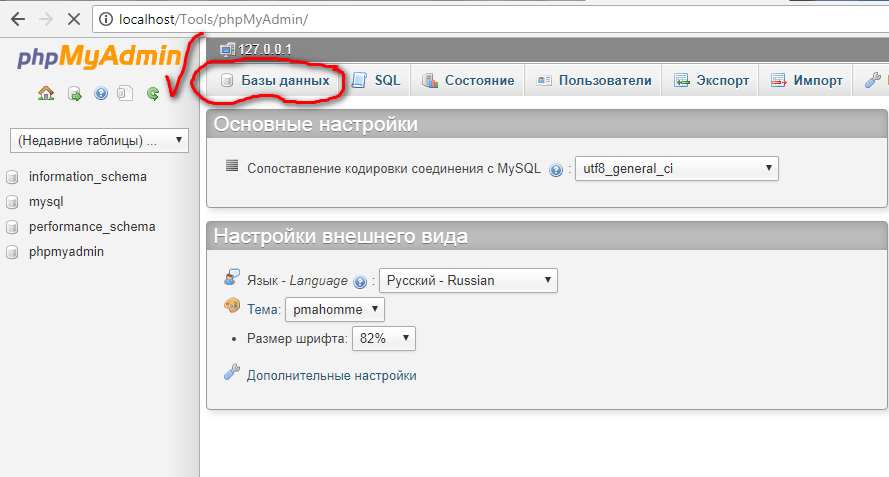
from there we go to the section that says http://localhost/Tools/phpMyAdmin:
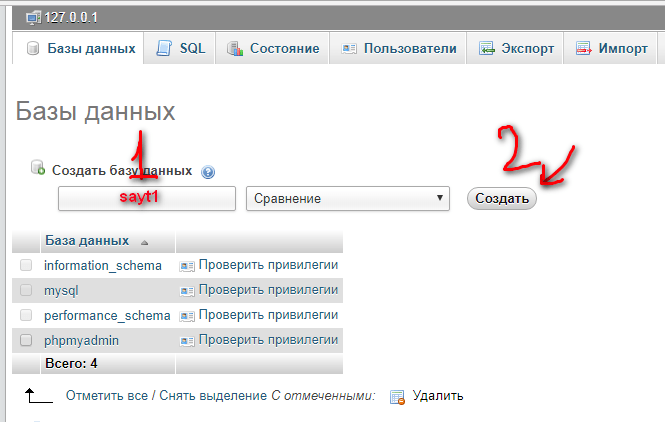
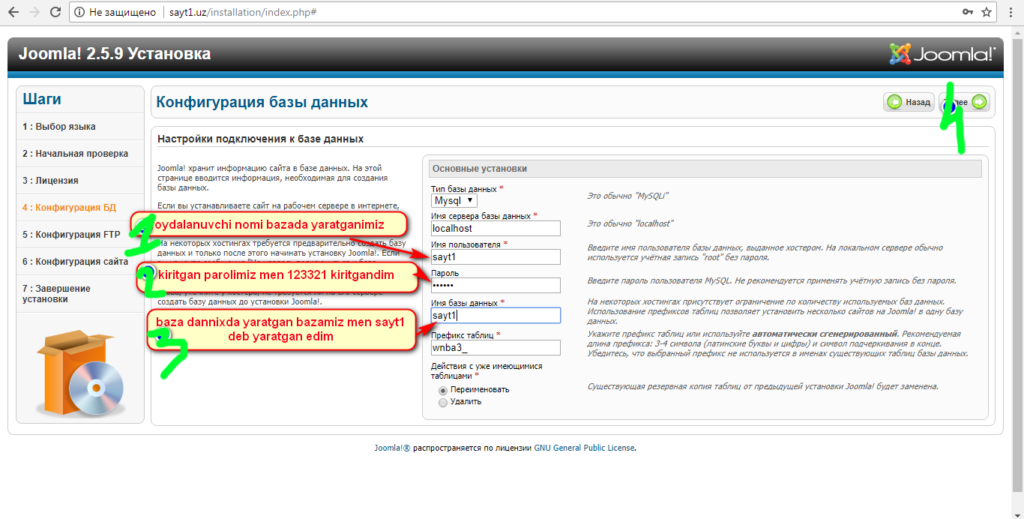
Now from there we enter Bazy dannyx:
now we will create a base, so as not to be confused, we will write site1:
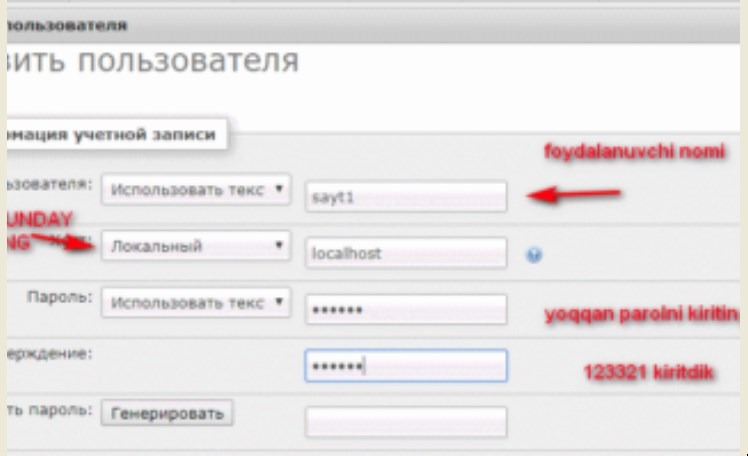
We go to the place called Polzovatelya and from there we find the place called Dobavit polzovatelya and click on it!
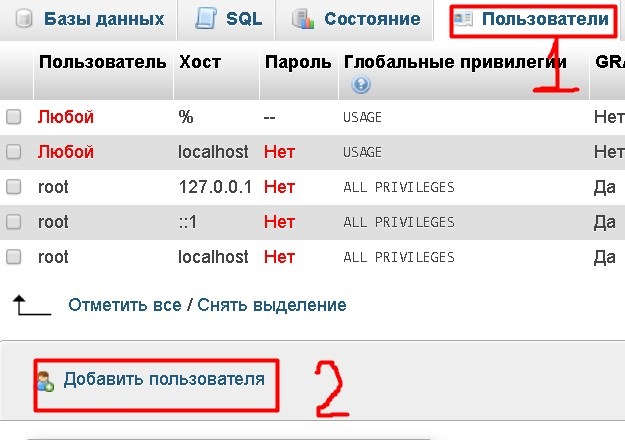
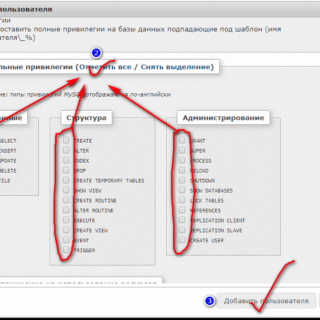
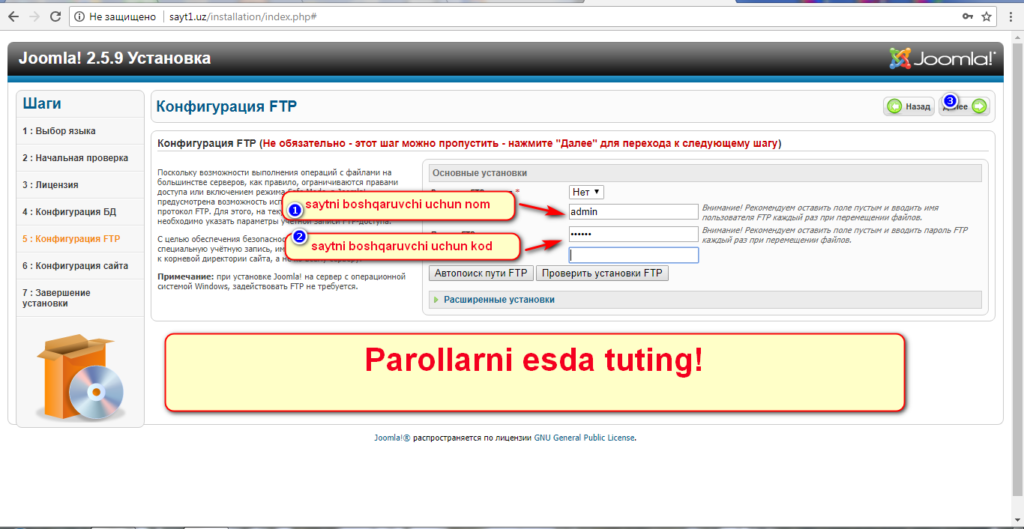
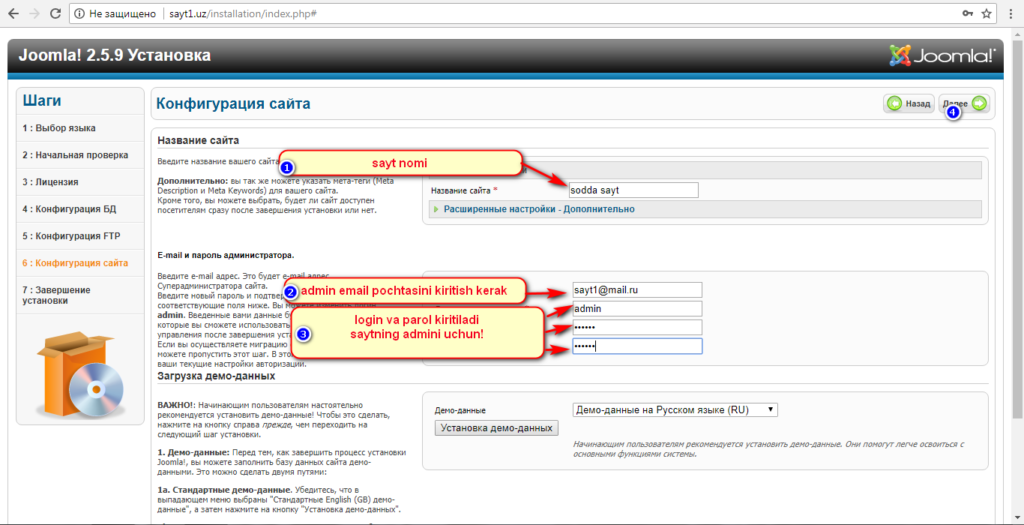
Now do the following steps sequentially:
it has been! Now restart Denver
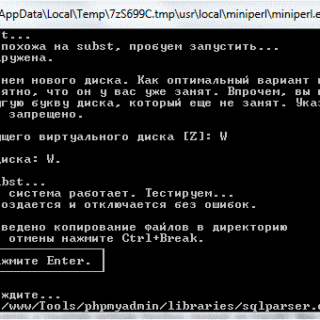
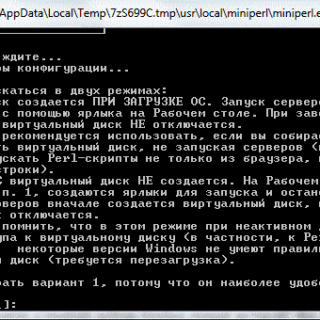
When you click the Restart Denver button, the following images will appear on the computer screen and close after a while. You don’t do anything here, just wait.
and write site1.uz in the browser, if you remember, the name of the folder, as I said above, is the name of the site you wrote! Now do the work in the pictures!
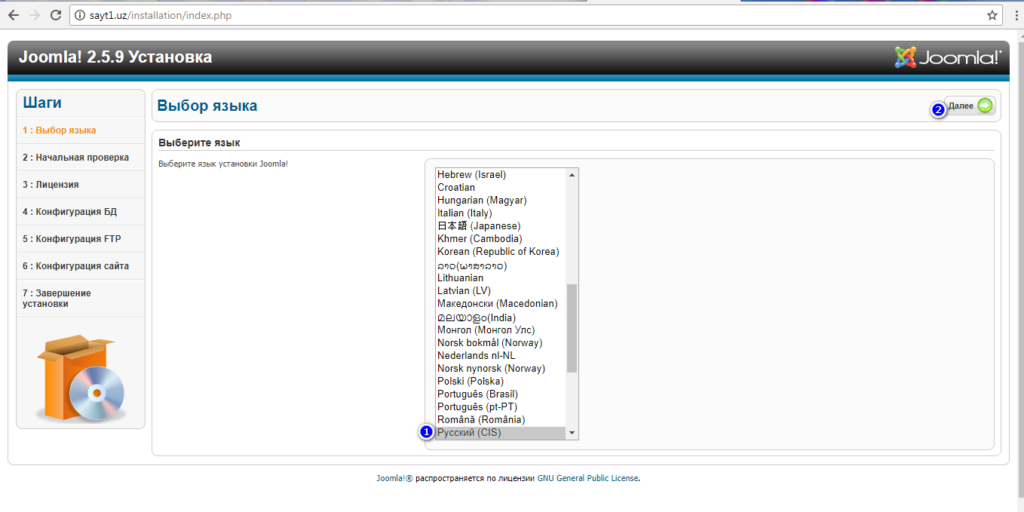
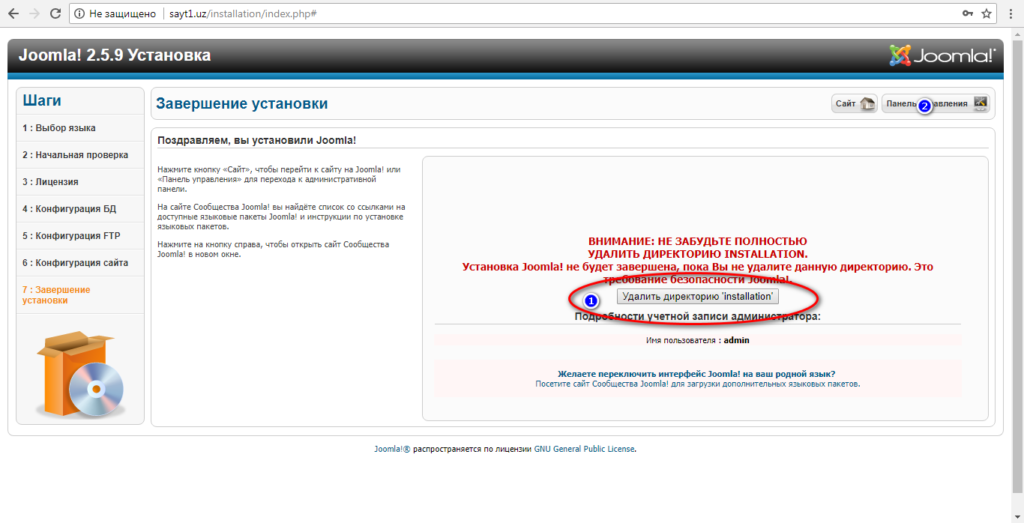
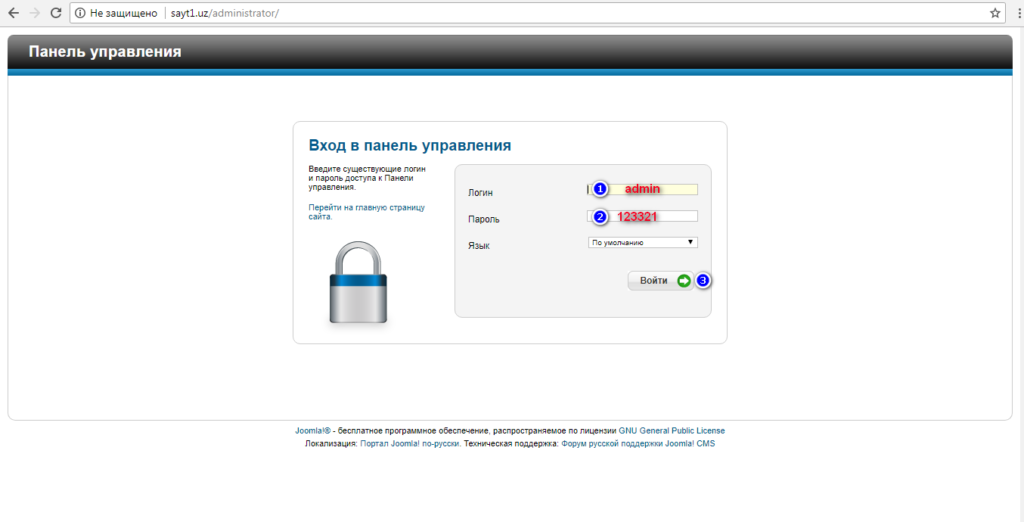
Now we have entered the Joomla site builder panel:
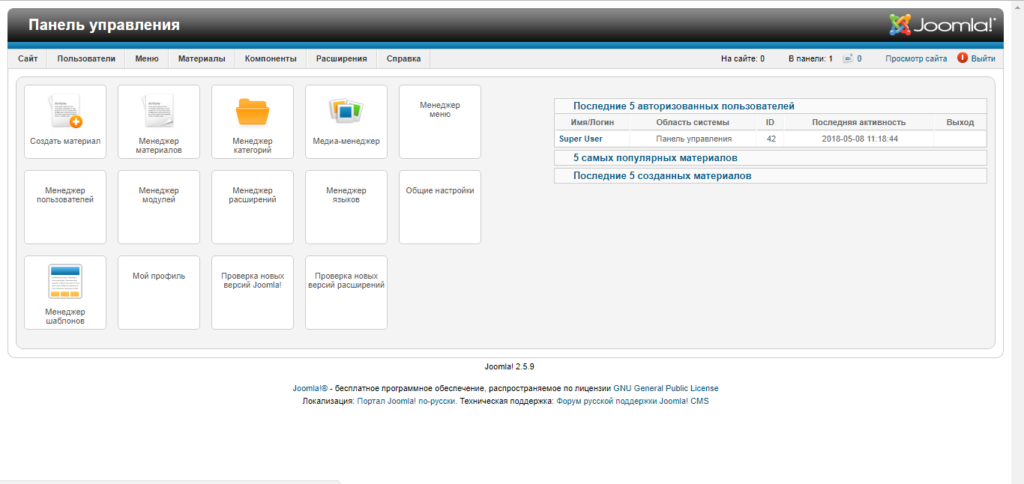
If we enter sayt1.uz in the browser, this site will appear! We will fix the sites only in another article!

Now you know how to install denwer on computer, and how to install cms joomla on this denwer.
Goodbye everyone! See you again.


