
Greetings! Let’s start the first lesson of our mini-course on preparing a site in WordPress. In this lesson we will learn how to install denver and wordpress on your computer.
Someone can understand the textbook better in video format, and someone can better understand it in TEXT format. That’s why I wrote the textbook in two different formats.
If you understand the lesson better in video format, then study by watching the video. If text format is convenient for you, you can learn in text format below the video.
ATTENTION: Watch or read the entire video or text (whichever format you choose) first! Then review and apply what you’ve learned all over again. That is, follow the steps shown in the video or text!
Before diving into the practical part of the lesson, we will answer some questions.
What is WordPress? What is local site preparation?
- WordPress is a free platform that serves to create a website. We can start our own site without learning any coding. WordPress provides a convenient control panel, which we will see at the end of this lesson.
- To prepare the site locally, we install WordPress on our computer, so all the files of our site are also placed on our computer. In this case, the hard disk of our computer acts as a host for us. We will prepare our site on our computer.
This is called opening the site locally. Of course, later we can place our finished site on Internet hosting services.
We use the Denver program to prepare our site locally.
Now let’s move on to the practical part of our lesson. It starts with installing Denver software on our computer.
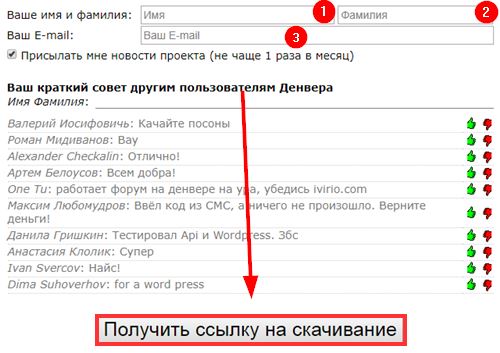
Enter the denwer.ru site, click on the form shown in the picture below, and then click the Download button.

We need to register to download this app. In the new form, we enter 1) name, 2) surname and 3) e-mail address and press the Poluchit ssylku na skachivanie button below.
A link to download will go to the email address we entered. Check your Inbox and Spam!
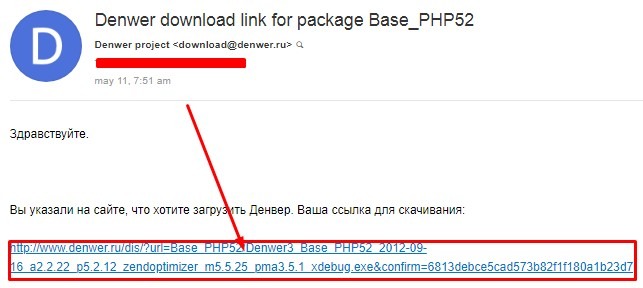
Click the link that looks like this, and the program will automatically start downloading to your computer.
Now the problem is to install the program on the computer.
We run the program downloaded to our computer and it asks us to install packages and we click Yes. After that, the consul window and browser will open. We close the browser to continue the installation. All further work is done in the consul window.
Press Enter to continue.
You will then be prompted for a route name. If we press Enter, the program will be installed in C:/WebServers.
At the prompt for C:/WebServers, you need to type y and press Enter.
Denver asks for a letter to open a virtual drive. You will need to choose a drive name that does not already exist on your computer, for example you can choose X, Y, Z.
Enter the letter and press the Enter button again!
After the files have been transferred, a new window will open, and in it, type 1 and press Enter!
The installer will then ask you to create a shortcut (y/n). You type the letter “y” and press Enter! Shortcuts are placed on your desktop. The browser will open, you can close it.
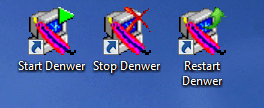
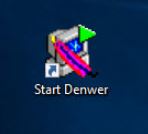
To use Denver, double-click Start Denver
Denver is running when you see the following two items in the taskbar.
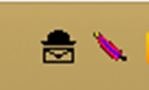
If this is visible, you can test the operation of Denver, for this, open any browser, type “test1.ru” and press Enter!
Windows is the answer

If it shows the text, it means everything is in place and Denver is working fine.
How to install WordPress on Denver
We can also download the WordPress program from wordpress.org to the computer.
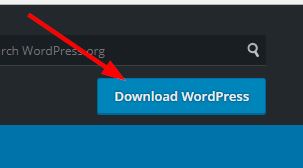
We enter the site and click the Download WordPress button.
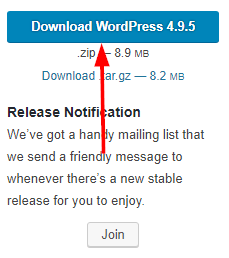
Click the Download WordPress (4.9.5) button again.
It will be transferred to our computer in .ZIP format. We extract WordPress files. For this, we will do the work in the following picture one by one.
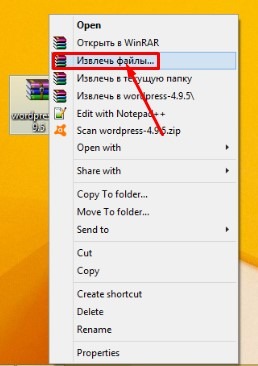
Then we specify where these files will be installed, and OK.
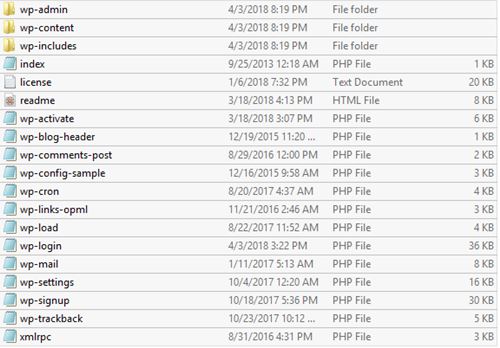
If we go into the installed files of WordPress, we will see all the files and copy them all.
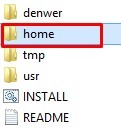
We go to the disk where Denver is installed. From here we enter the home folder.
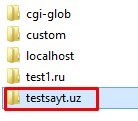
In this direction, we will open one more folder and give it the name of the site we want to open, for example, I will open the testsayt.uz folder.
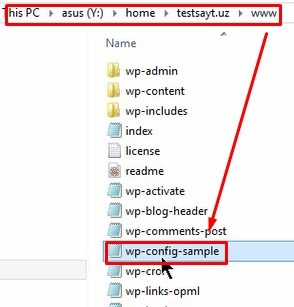
Enter this folder and open another folder and name it www.
Now go to the www folder and copy all the WordPress folders and files here.
Route: Y:\home\testsayt.uz\www
How to create a database
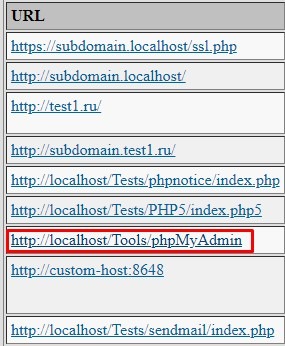
We enter localhost/denwer in the place where we enter the URL in the browser and press Enter.
Scroll down this page and go to http://locGotoalhost/Tools/phpMyAdmin link.
Here we create a user, for this we enter the Users menu (if it is in English).
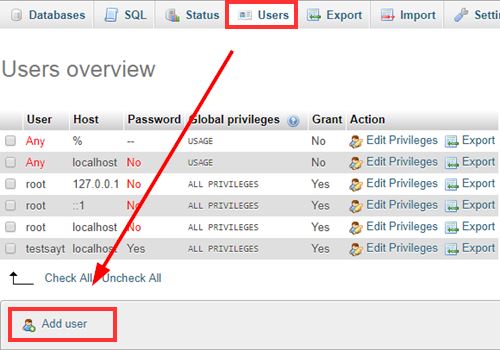
We enter information about the user. In my example, a test site is set for User name, we select Local for Host. We will create a password in the next form.
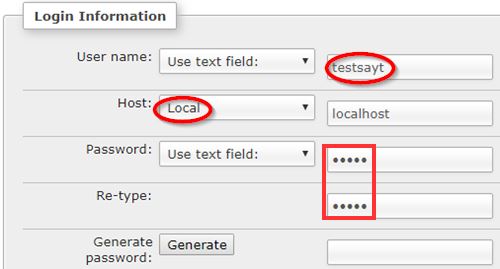
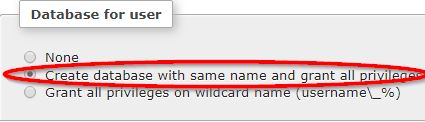
Let’s go a little lower. We mark (select) the one in the middle, which means creating a database with the same username.
In the next form, click Check All.
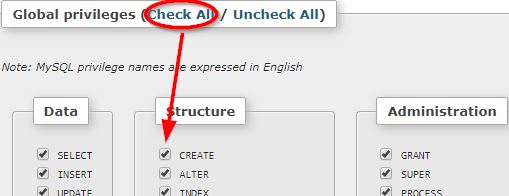
Click the Add user button below and finish adding a user.
Now add Denver again by double-clicking the Start Denver plugin.
We enter the name of the site in the browser search field and press Enter.
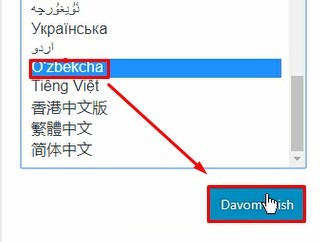
It asks us to select a language and continue. Select the Uzbek language and press the Continue button.
On the next page, let’s go! before clicking the button we need to edit the wp-config-sample file.
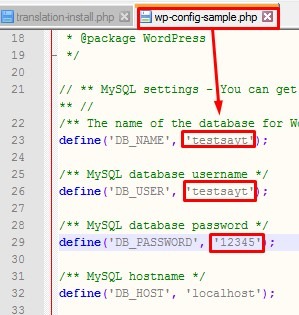
We will open this file and make changes. 1) Name of the database, 2) User name, 3) password, we will keep it.
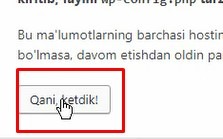
Let’s return to the browser and continue our work.
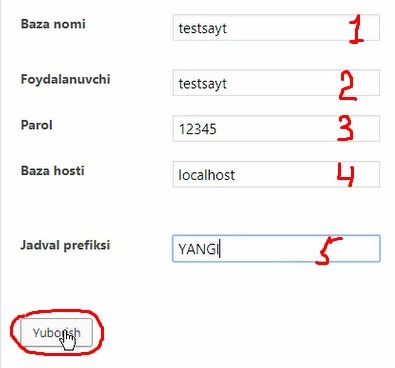
We enter basic information on a new page.
In our case:
- The base name was testsite.
- The name of the user and the database was the same, that is, testsite.
- Password.
- We will not change localhost.
- If we want to install several wordpress in one database, we change it to any record.
We press the send button.
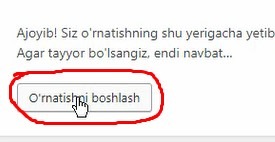
Let’s start installing WordPress and for this, click on the Start Installation button.
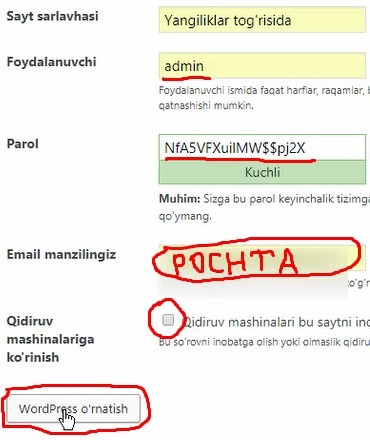
The title of the site is the text visible at the top of the browser, it is enough to write a brief description of what our site is about.
User – Login required to access your admin panel. Keep it safe!
Password – This password is very important, it will ask you to enter your password here to access the control panel. Of course, keep it!
Email – Enter your email address!
Visibility to search engines – search engines play a big role in the development of our site. They must index our site.
Click the Install WordPress button.
This will install wordpress. Now we will click Login to access the WordPress dashboard.
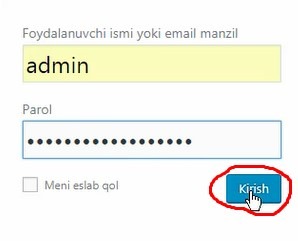
Enter the username and password and click the Login button.
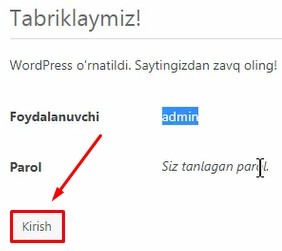
Save the link on this page to access the admin panel again!
And finally, our WordPress site is fully installed. If we enter the name of the site in the new tab, our site will also be visible.
Now you know how to install denver and wordpress on your computer.
Our main goal from our first lesson was to set up a WordPress site. Use the instructions in this lesson to set up the site yourself, this is an assignment from the first lesson.
In our next second lesson, we will take a closer look at the WordPress admin panel. I will send this tutorial tomorrow to the email you subscribed to this course.
Of course, stay tuned until our next lesson! Good luck, good health!


