Greetings! Let’s start the fifth lesson of the mini-course of preparing a site in WordPress. In this lesson, we will learn how to install a plugin on our site, and at the same time, we will learn about one of the important plugins that will be needed during the operation of the site, and we will consider the installation and settings.
As usual, we can learn the lesson using instructions in video or text format.
I’ve written an article before about installing a plugin, and that’s exactly the plugin I’m going to teach you about and install in this tutorial. Accordingly, I would now like to give a reference (link) to these articles.
Since we are preparing the site locally in our class, we often have to find and install plug-in files after downloading them. I will show you where to find and how to download the plugin.
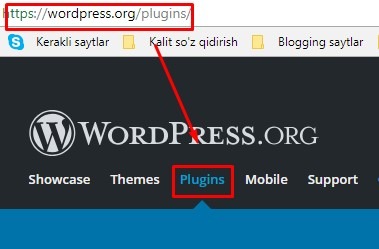
The best place to find the plugin in .ZIP format is wordpress.org. To find the plugin and download it to our computer, we go to the site and from here we go to the plugins menu.

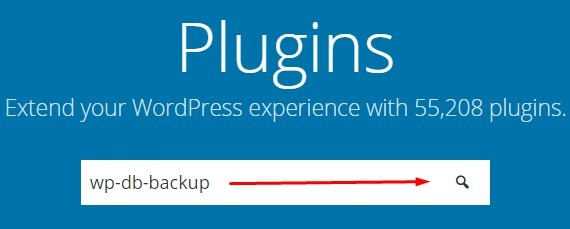
Search by writing the name of the plugin in the search field below. We are going to install the WP-DB-Backup plugin. We will write it down.

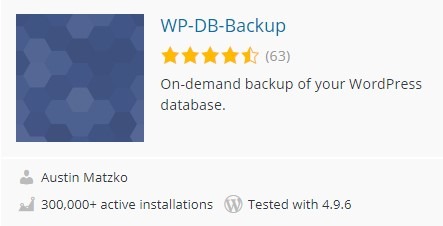
We found our plugin: Download this plugin too!

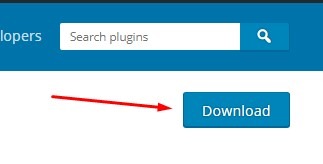
To download, click on this plugin and you will be taken to another page, click the Download button on the right side of this page.

After having the plugin, go to the Plugins – Add New – Download menu and click the Install button after downloading the plugin.
We need to install and configure the WP-DB-Backup plugin in this tutorial. Just read this article and follow the instructions! You can find this article at this link.
So you also need to install and configure the plugin, which is a task for this tutorial.
And now we say goodbye to you, goodbye!


