Hello users of my blog! We will study the preparation of the site’s contact form.
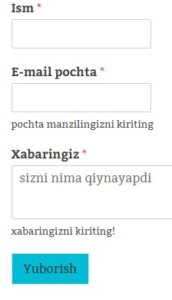
You don’t need to learn coding or be a programmer to make this form. You just need to follow the instructions in this article.
Of course, opening such a form is necessary to keep in touch with site users, so this field should always be active.
It is very easy to do these things through wpform plugin. Below you will find instructions in the form of video and text.
Watch the video to open the contact form on the site!
If you are not comfortable with video learning, continue reading the text.
So, we want to use the Wpform plugin, which of course requires installing and configuring the plugin.
Go to the Plugins menu from the WordPress admin panel and click the Add New button to add a new plugin.

We enter the word Wform Lite in the search section, that is, the name of this plugin. Click the install button to install the plugin.
After installation, activate by pressing the Activation button.
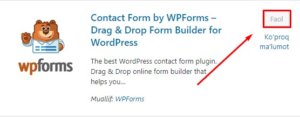
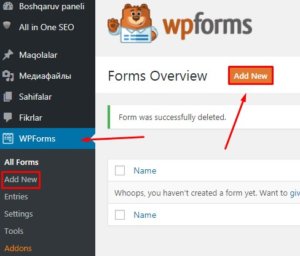
After the plugin is activated, the WPForms menu will open in the menu section. In this menu, we enter the Add New submenu.
On the form builder’s settings page, you can enter a form name like “Contact”.
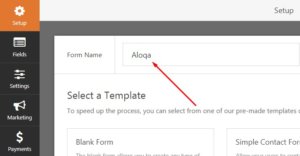
There are many types of forms on this page, as shown above we want to create a simple Contact Form, so we go to Create a Simple Contact Form.
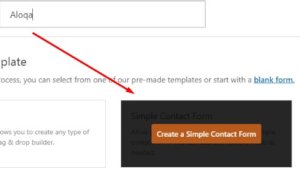
Customizing the form field
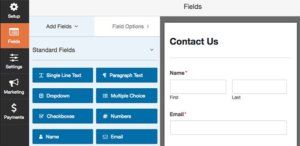
Depending on the type of license (paid or unpaid), the left panel will show the fields for you to choose. In the right-hand panel, you will see a preview of your application where you can edit it.
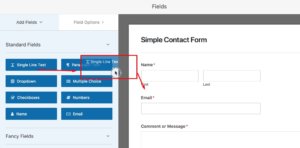
To add a field to your form, you can drag and drop the field directly into the form preview in the left panel.
Field options allow you to customize the details and settings of each field, such as the field name and description.
To see and edit the selection settings available for each field, click on that field in the preview screen! Field settings are created in the left panel.
When editing, it is necessary to make it as understandable as possible to the users of the site, for example, it is necessary to change Name to Ism, that is, Uzbekization.
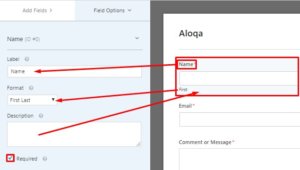
Whatever we change on the left side, the change will be visible in the right panel and it will also be visible on the site. Accordingly, we create a suitable look for ourselves, for example, like the picture above.
After making field changes, press the Save button to save.
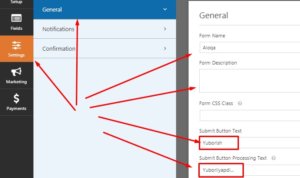
Now, let’s go to Settings. Here we can change the form name, comment and Submit. Submit, we write in Uzbek.
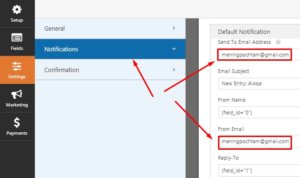
We will make the Notifications settings, where you should mainly indicate where the messages sent by the user will go, that is, you will enter your email address.
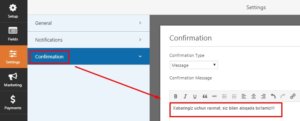
The Confirmation form serves to inform the user that he has successfully sent his message. We will write something down to show that the message has been delivered.
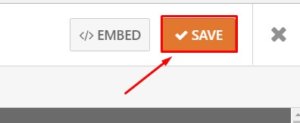
When you’re done customizing your form, click the Save button at the top to save the form.
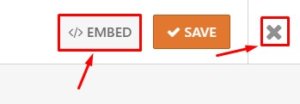
Now we will be given a special code to publish the site. To get this code, press the EMBED button above and a code will appear on the screen. Select the whole code by pressing Ctrl and A and press copy.

And then press X to exit this area.
We can put this given code on any page and print it on the site. Or we can add a form from within that page.
We can also add this ready-made form to an off-page widget.
Go to the page where you want to add the form and copy the code by placing the text field in the Text module.
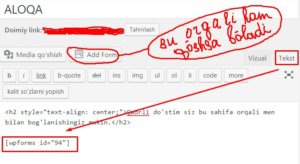
You can also add the form to the page by entering Add Form. At the end, click the Update button, and it will be published on the site.
So, we installed and activated the Wpform Lite plugin, but created a form for ourselves. The code for the created form was given, and we published it on the site by installing the page.
If you noticed, there was nothing complicated about it. If you don’t understand something, leave it in the comments! SUBSCRIBE to my blog and be the first to know about new articles.
And now we say goodbye, goodbye!


